Creating a Windows 2022 Jump Server
Last Updated: March 20, 2024
Introduction –
In today’s tech-driven world, securing your network and protecting sensitive data are paramount. To achieve this, Microsoft recommends implementing a jump server—a dedicated system designed to control access to critical infrastructure components. In this blog post, I will guide you through the process of creating a Windows 2022 jump server, explain its significance, and highlight best practices for its usage.
What is a jump server?
A jump server, also known as a bastion host or a pivot host, acts as a secure gateway between your internal network and external systems. It serves as an intermediary device that allows authorized users to access administrative tools and perform privileged operations on target systems. By channeling all administrative tasks through a jump server, you can minimize the risk of unauthorized access, reduce the attack surface, and enhance overall security.
Best practices for setting up a jump server
Let’s dive into the step-by-step process of creating a Windows 2022 jump server:
1. Provisioning the server
Start by provisioning a Windows Server 2022 machine with the necessary hardware and network connectivity. Ensure that the server is up to date with the latest security patches and updates. For those setting up a new server, considering a robust hardware platform such as the Dell PowerEdge R620 Server or the Dell PowerEdge T320 available on Amazon or through Dell’s website, can ensure optimal performance and reliability for your Windows 2022 jump server.
2. Installing Remote Server Administration Tools (RSAT)
To install Remote Server Administration Tools (RSAT) on Windows Server 2022 using Server Manager, follow these step-by-step instructions:
- Launch the Server Manager by clicking on the Windows Start button and selecting “Server Manager” from the menu.
- Once Server Manager opens, click on “Manage” located in the top-right corner of the window, and then select “Add Roles and Features.”
- The Add Roles and Features Wizard will open. On the “Before you begin” page, review the information and click “Next” to proceed.
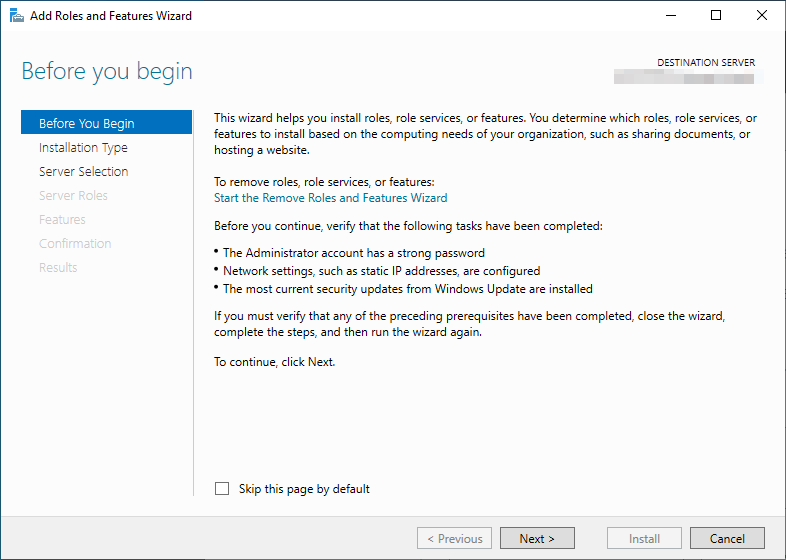
- On the “Installation Type” page, ensure that “Role-based or feature-based installation” is selected, and click “Next.”
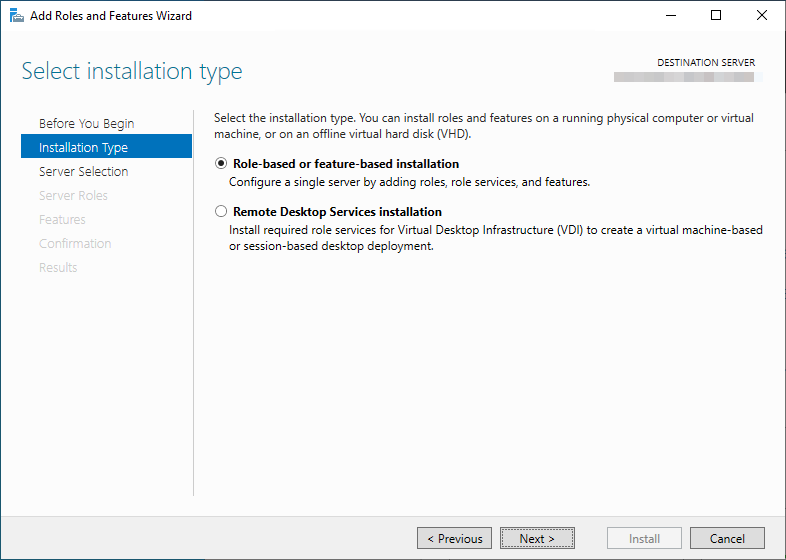
- On the “Server Selection” page, choose the appropriate server from the server pool. If you have only one server, it should be selected by default. Click “Next” to continue.
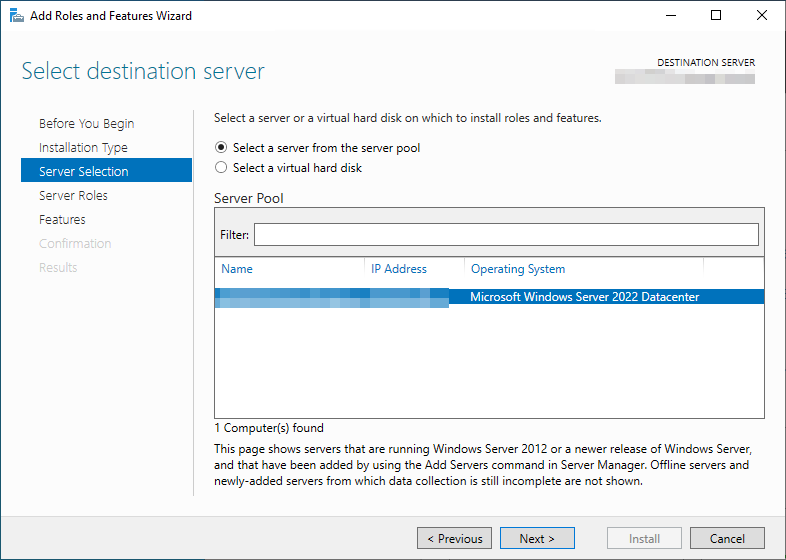
- On the “Server Roles” page, leave the options unchecked as you are installing a feature rather than a server role. Click “Next” to proceed.
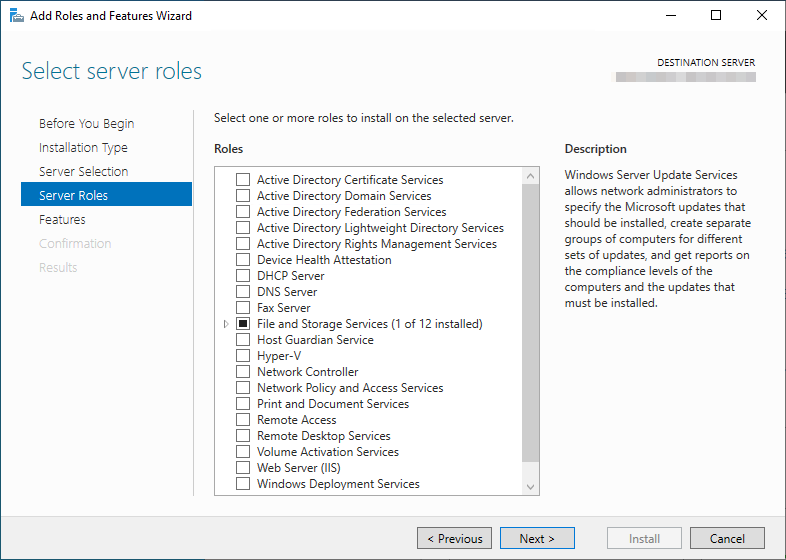
- On the “Select features” page, scroll down or use the search bar to locate “Remote Server Administration Tools.” Expand the “Remote Server Administration Tools” section and expand “Role Administration Tools.” then click “Add Features.”
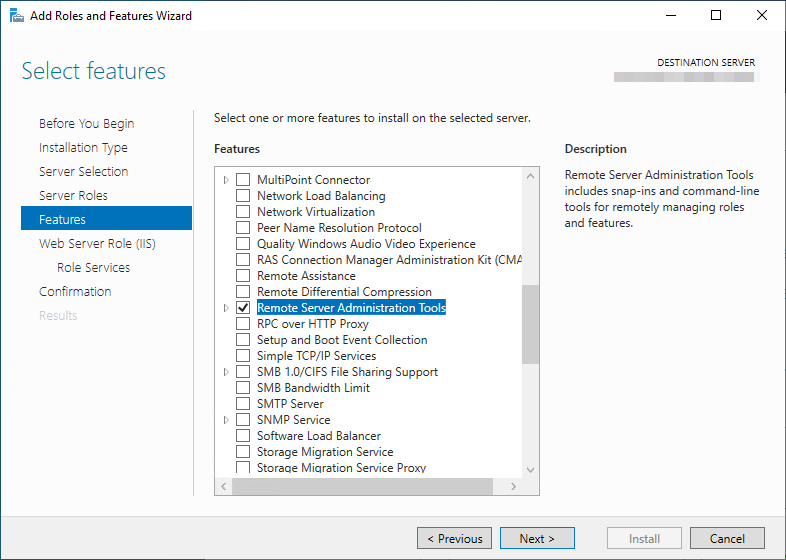
- Select the specific tools you want to install, such as “Active Directory Domain Services Tools,” “DHCP Server Tools,” “DNS Server Tools,” etc. You can choose multiple tools by checking their corresponding boxes.
- Once you have selected the desired tools, click “Next” to continue.
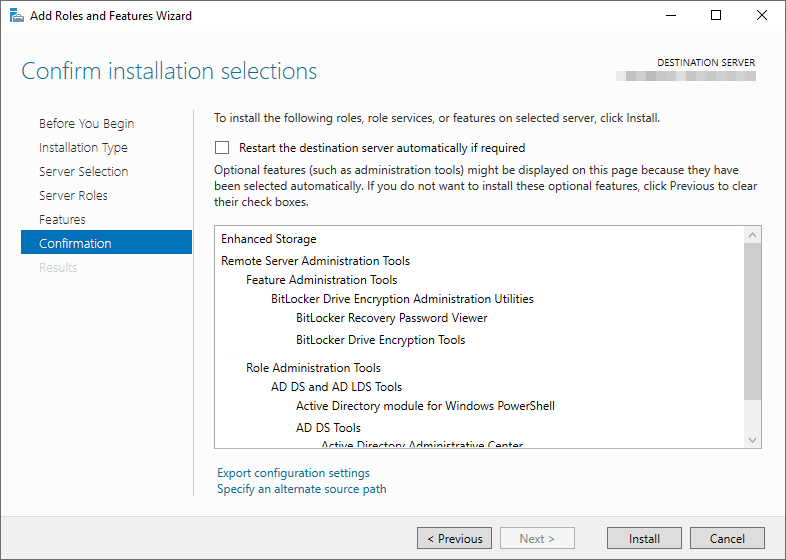
- On the “Confirm installation selections” page, review the summary of your selections. If everything looks correct, click “Install” to begin the installation process.
- The installation progress will be displayed on the “Installation progress” page. Wait for the process to complete.
- Once the installation is finished, the “Results” page will provide an overview of the installation status. Verify that the installation was successful and click “Close” to exit the wizard.
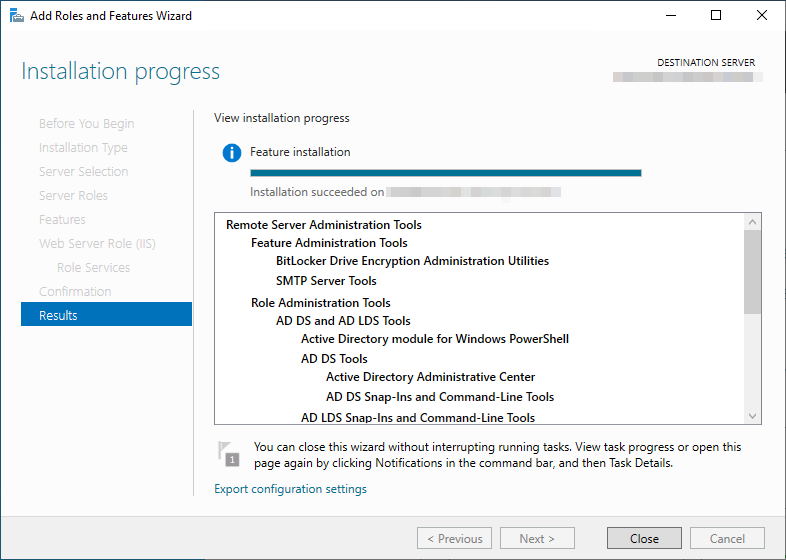
Congratulations! You have successfully installed the Remote Server Administration Tools (RSAT) on your Windows Server 2022 using Server Manager. You can now utilize the installed tools, such as Active Directory Users and Computers (ADUC), DHCP Server Tools, DNS Server Tools, and more, to manage and administer various aspects of your network infrastructure.
3. Securing access to the jump server
To ensure the security of your jump server, it is crucial to restrict access to authorized users only. Follow these recommendations:
- Use Multi-Factor Authentication (MFA): Implement MFA for all users accessing the jump server to add an extra layer of security.
- Limit Access Permissions: Grant access to the jump server only to the personnel responsible for administrative tasks. Regular users should not have access unless explicitly required.
- Segment the Network: Place the jump server within a dedicated network segment, employing network security controls such as hardware firewalls and access control lists (ACLs) to restrict traffic to and from the server.
4. Leveraging ADUC and Group Policy Editor
Once your jump server is set up and secured, you can efficiently manage your Active Directory and Group Policy environment. Here’s how you can utilize ADUC and Group Policy Editor from the jump server:
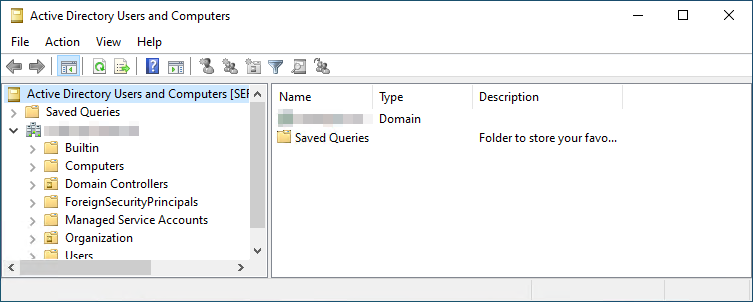
- Active Directory Users and Computers (ADUC): ADUCprovides a comprehensive graphical interface to manage users, groups, organizational units, and other objects in your Active Directory environment. Follow these steps to use ADUC from the jump server:
- Launch the ADUC tool from the start menu or by typing “dsa.msc” in the Run dialog.
- Once connected to your domain, you can navigate through the hierarchical structure of your domain and perform various administrative tasks, such as creating or modifying user accounts and computers, managing group memberships, and resetting passwords.
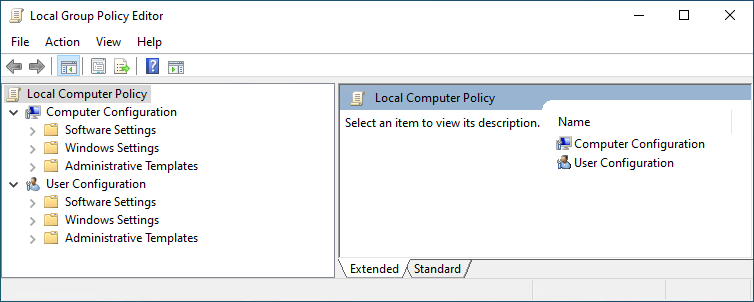
- Group Policy Editor (GPE): Group Policy provides centralized management and configuration of Windows settings for multiple computers and users. Here’s how you can utilize Group Policy Editor from the jump server:
- Launch the Group Policy Editor by typing “gpedit.msc” in the Run dialog or searching for “Group Policy Editor” in the start menu.
- The Group Policy Editor allows you to configure various policies categorized under User Configuration and Computer Configuration. These policies can control settings related to security, network, software installation, and more.
- Navigate through the different policy categories and subcategories to find the specific policy you wish to configure.
- Double-click on a policy to modify its settings and apply the desired configurations to the target computers or users.
The security advantage
By implementing a jump server for administrative tasks, you significantly enhance the security posture of your network. Here are the key security advantages:
- Reduced attack surface: With a dedicated jump server, you limit the number of entry points into your critical systems, reducing the attack surface available to potential threats.
- Centralized logging: By channeling administrative activities through a single server, you gain centralized logging capabilities, enabling effective monitoring, auditing, and incident response.
- Enhanced access control: With strict access permissions and MFA, you ensure that only authorized personnel can access the jump server, mitigating the risk of unauthorized access.
- Isolation of sensitive systems: By isolating the jump server from the rest of your network, you protect your critical systems from direct exposure and minimize the impact of potential compromises.
Conclusion
Creating a Windows 2022 jump server is a best practice recommended by Microsoft to enhance the security of your administrative tasks. By following the steps outlined in this guide, you can establish a secure gateway, utilize tools like ADUC and Group Policy Editor, and protect your network from potential threats. Remember to implement access restrictions, regularly update your server, and stay vigilant with security measures to ensure the ongoing integrity of your jump server and the systems it protects.
For more information and detailed instructions, consult the official Microsoft documentation for Windows Server 2022 and Remote Server Administration Tools.
Happy secure administrating!
